From quick fixes to creative edits, here’s how to transform your photos
Editing can feel overwhelming when you first start, but it doesn’t have to be. You don’t need fancy software or years of experience to make your photos look better. With just a handful of simple techniques, you can brighten dark shots, clean up distractions, and even add your own creative style.
In this guide, we’ll walk through 10 essential editing techniques every beginner should know. Each one builds your confidence and helps you take control of your images.
Brightening Dark Photos
Dark, underexposed photos are common, especially indoors or at night. Learning how to brighten without losing detail is a must. The trick is balancing exposure, shadows, and highlights instead of pushing one slider too far. RAW files give you the most room to recover detail, but even JPEGs benefit from careful adjustments.
Cropping for Better Composition
Cropping isn’t just trimming — it’s one of the fastest ways to fix composition. Removing distractions, tightening the frame, or trying a new aspect ratio can completely change the mood of a photo. Just remember not to crop too much, as it reduces quality, especially for prints.
Fixing Overexposed and Underexposed Shots
Sometimes photos are too bright (overexposed) or too dark (underexposed). Editing lets you rescue many of them. Lower highlights to recover skies, or lift shadows to reveal details. Shooting in RAW helps, but learning to balance adjustments keeps photos natural.
Using Contrast to Add Depth
Contrast is the difference between light and dark areas. A little extra contrast makes photos pop, while low contrast can give a soft, dreamy effect. Too much contrast, however, makes images harsh. Think of it as seasoning — small adjustments bring photos to life.
Sharpening for Crisp Details
Sharpening enhances edges to make photos appear crisper, especially when shared online. But over-sharpening creates halos and noise. Landscapes often benefit from stronger sharpening, while portraits need a lighter touch. Always sharpen last in your editing workflow.
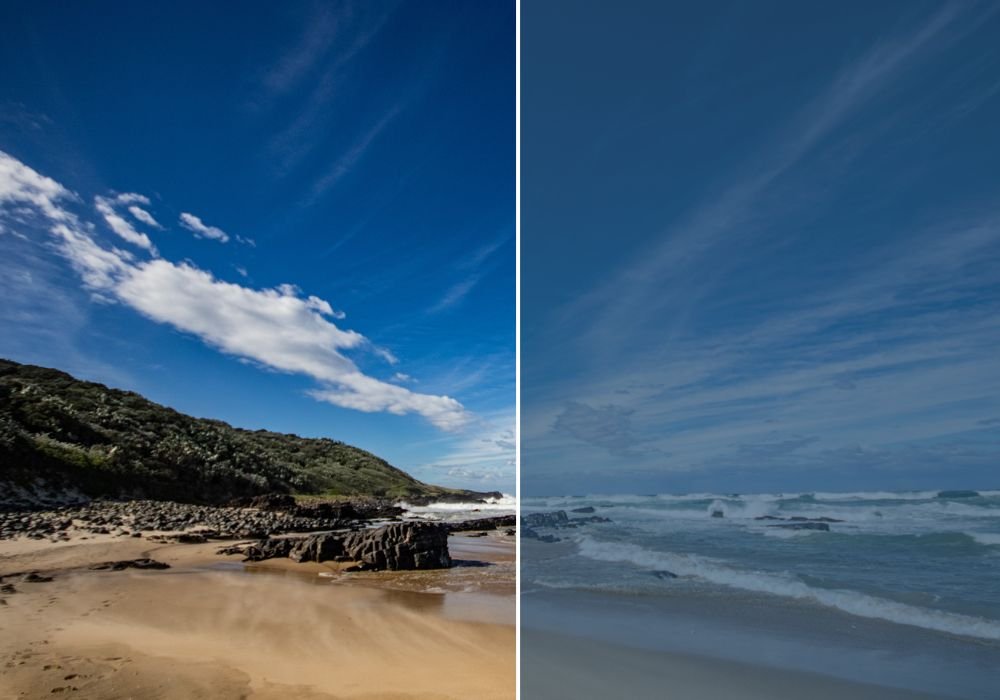
Correcting Colours
Lighting often adds colour casts — orange indoors, blue in shade, or green under fluorescent bulbs. Colour correction brings photos back to looking natural. Start with white balance, then adjust tint and temperature. Focus on skin tones as your guide.
Converting to Black and White
Black and white photography strips away colour, making shapes, tones, and emotions stand out. It works best with high-contrast images or dramatic lighting. Instead of simply desaturating, adjust tones and contrast for depth and mood.
Removing Distractions
Little things can ruin a shot — a stray wire, a blemish, or an unwanted person in the background. Spot healing and cloning tools clean these up quickly. Use them with a light touch so your edits look natural, not fake.
Using Presets the Right Way
Presets are ready-made edits that save time and give your photos a consistent look. They’re great starting points, but no preset fits every photo perfectly. Always tweak after applying so your images look natural and personal, not over-processed.
Free Editing Apps for Beginners
You don’t need expensive software to get started. Free apps like Snapseed, Lightroom Mobile, and VSCO give you powerful tools right on your phone. They’re more than enough to practise the basics before moving on to paid programmes.
Final Thoughts